
As I have mentioned in the past, I am very passionate about people creating out of what is inside of them and not so much what they can copy (although I realize you can learn a lot about skill from copying). I am more focused on bringing the creativity that is in you alive! What you have to create will be a one of a kind masterpiece just as you are a one of a kind masterpiece. There will never be another you and so I love to see people create things that are so unique.
A lot of people I know what to paint but they just have no idea where or how to begin. I thought I would do a post on how to create your own painting. Even if your skill level is low you can still start where you are at and make it into a nice piece of art. So in saying that, I am going to walk you through a process of designing your own painting.
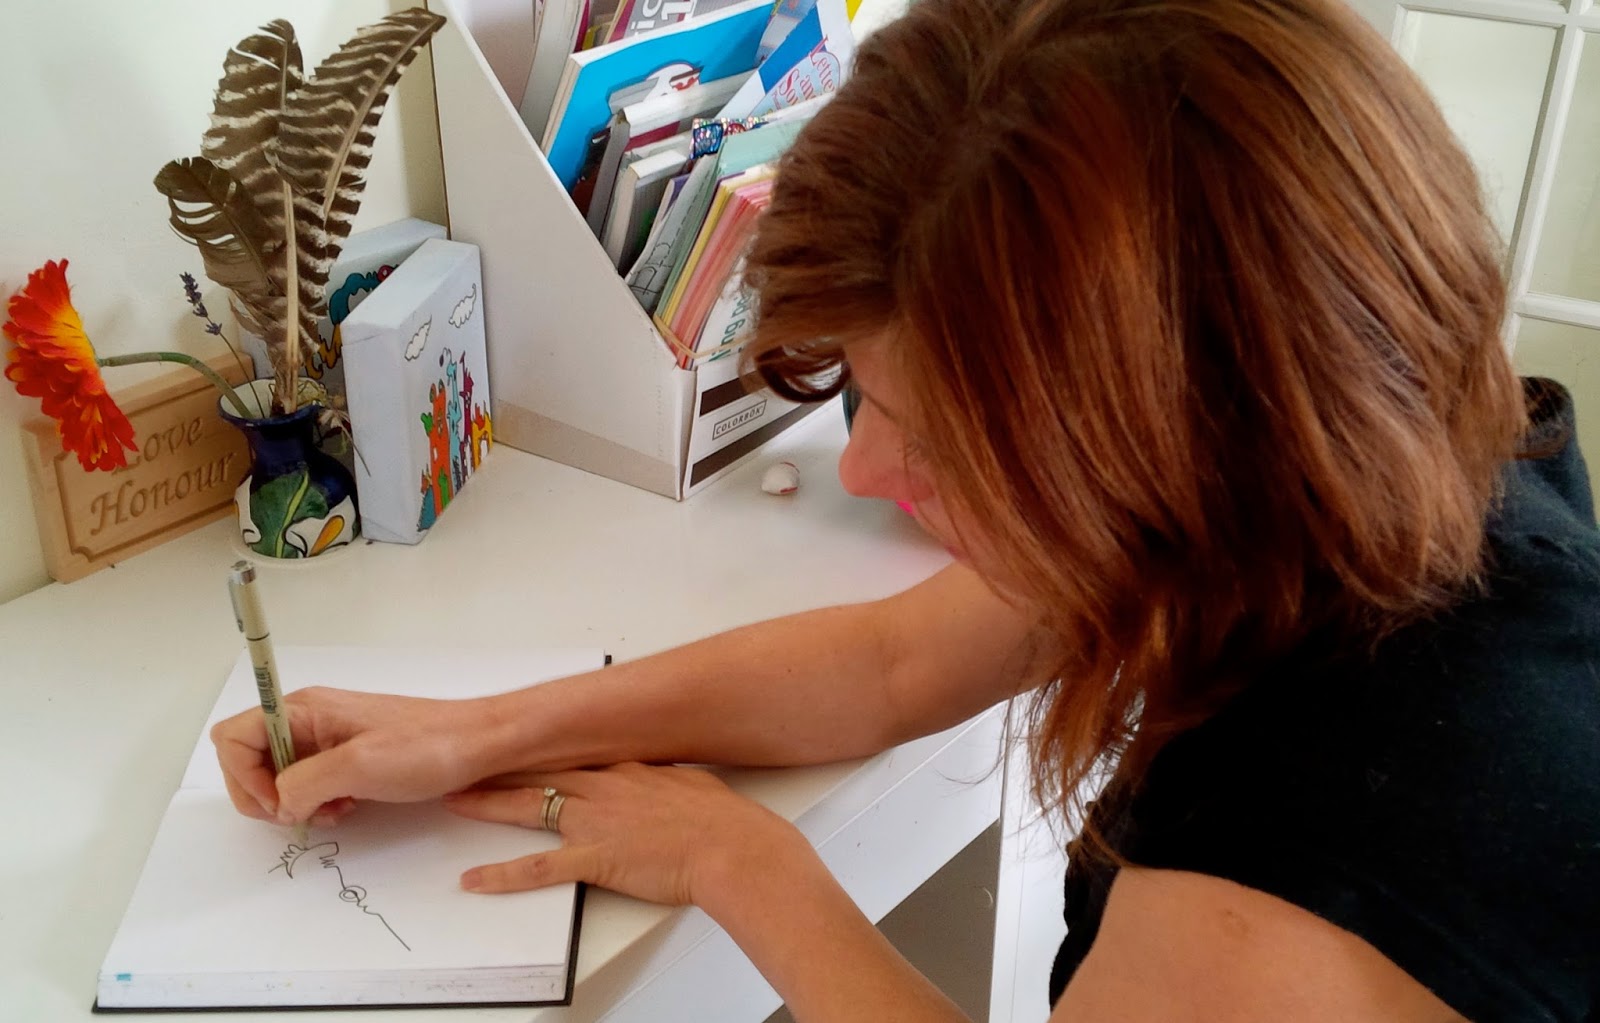
Step one: Let's create your design. The first thing I do is grab my sketch book and a black felt tip pen (I like using a pen because I can't erase what I do). I usually put some music on and with no predetermined picture in my mind I just begin to doodle. I try not to put much thought into what I am doodling (because then what I'm thinking usually doesn't turn out). I don't spend a lot of time doing this. Maybe fifteen minutes. With the black pen I can't erase lines that I may with a pencil, so I just have to work with what I have done.
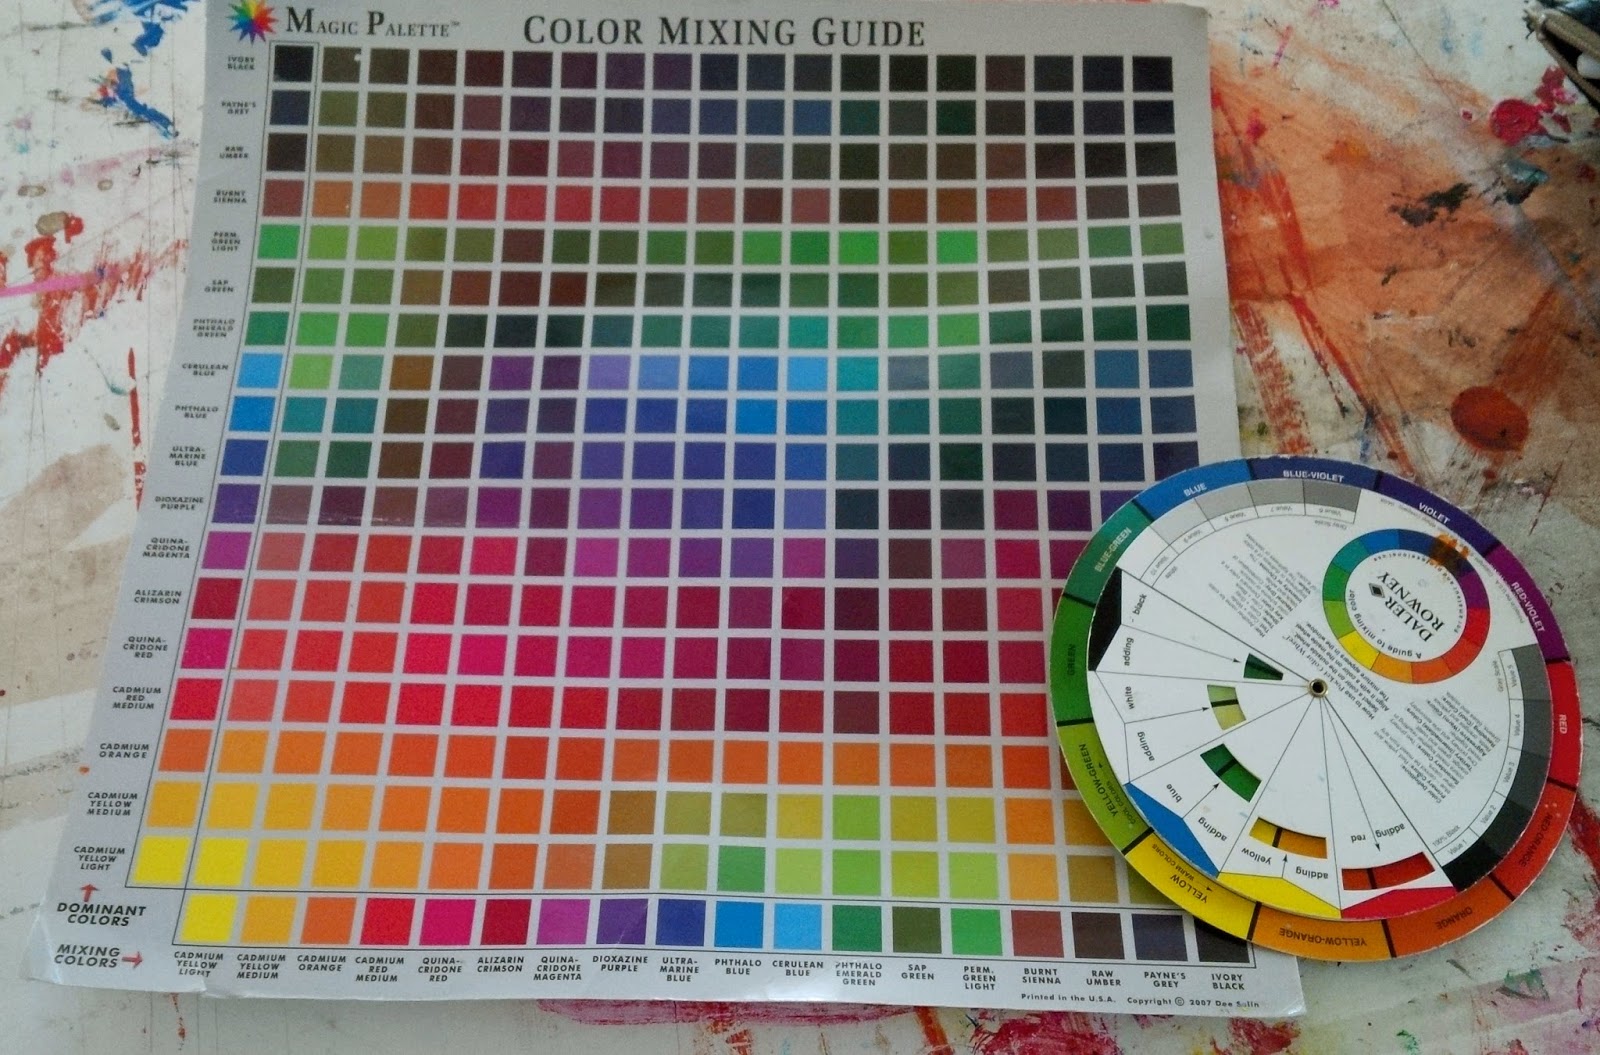
Step Two: I make about 3 copies of this doodle and start looking for different colour schemes that I like. Sometimes I grab my colour wheel and do primary colours (those are my favourite because they most always work with my doodles), complementary colours (I love the contrast and boldness), and maybe I will try a monochromatic scheme. Sometimes I do really bright colours vs. more muted tones, and sometimes I just go on Pinterest and search for colour schemes and see what catches my eye. Many times if I am stuck on what colours to use I will think about what colours I love to wear together (it works for me).
Step three: Figure out the background and the colours you want (I usually do my background light because my doodles are done in bold colours and that makes them pop). You may need to experiment with this as well. I then paint the background first before sketching my doodle.
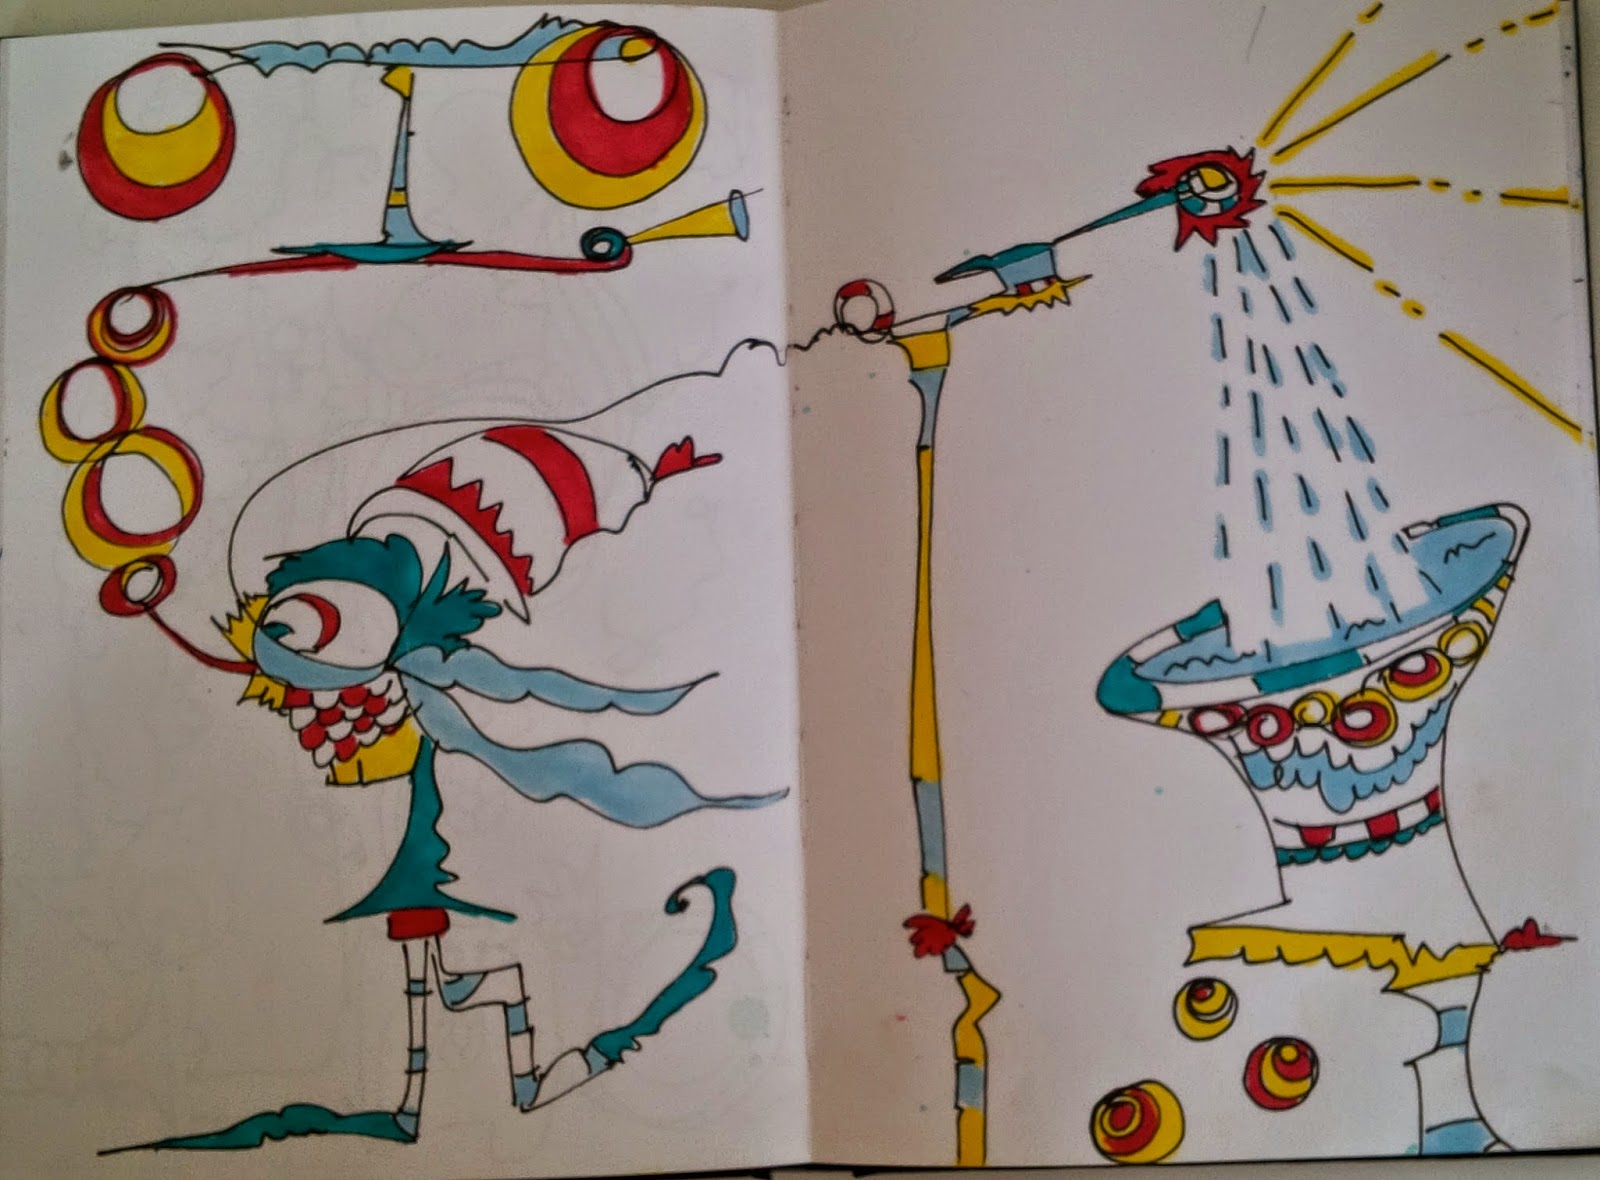
Step Four: Transfer the doodle onto a canvas. I look at the shape of the doodle and determined what size and shape of canvas would look best for the doodle. I then either draw it again free hand (depending on how detailed it is) or I use a projector and transfer it onto my canvas, making sure it is proportioned well. When looking at a painting you want it to be balanced. That means not too heavy on one side or the other. There are ways to balance a painting using paint as well. When you look at a painting that is pleasing to the eye your eye will generally move around the painting. I find when doodling this naturally seems to happen.
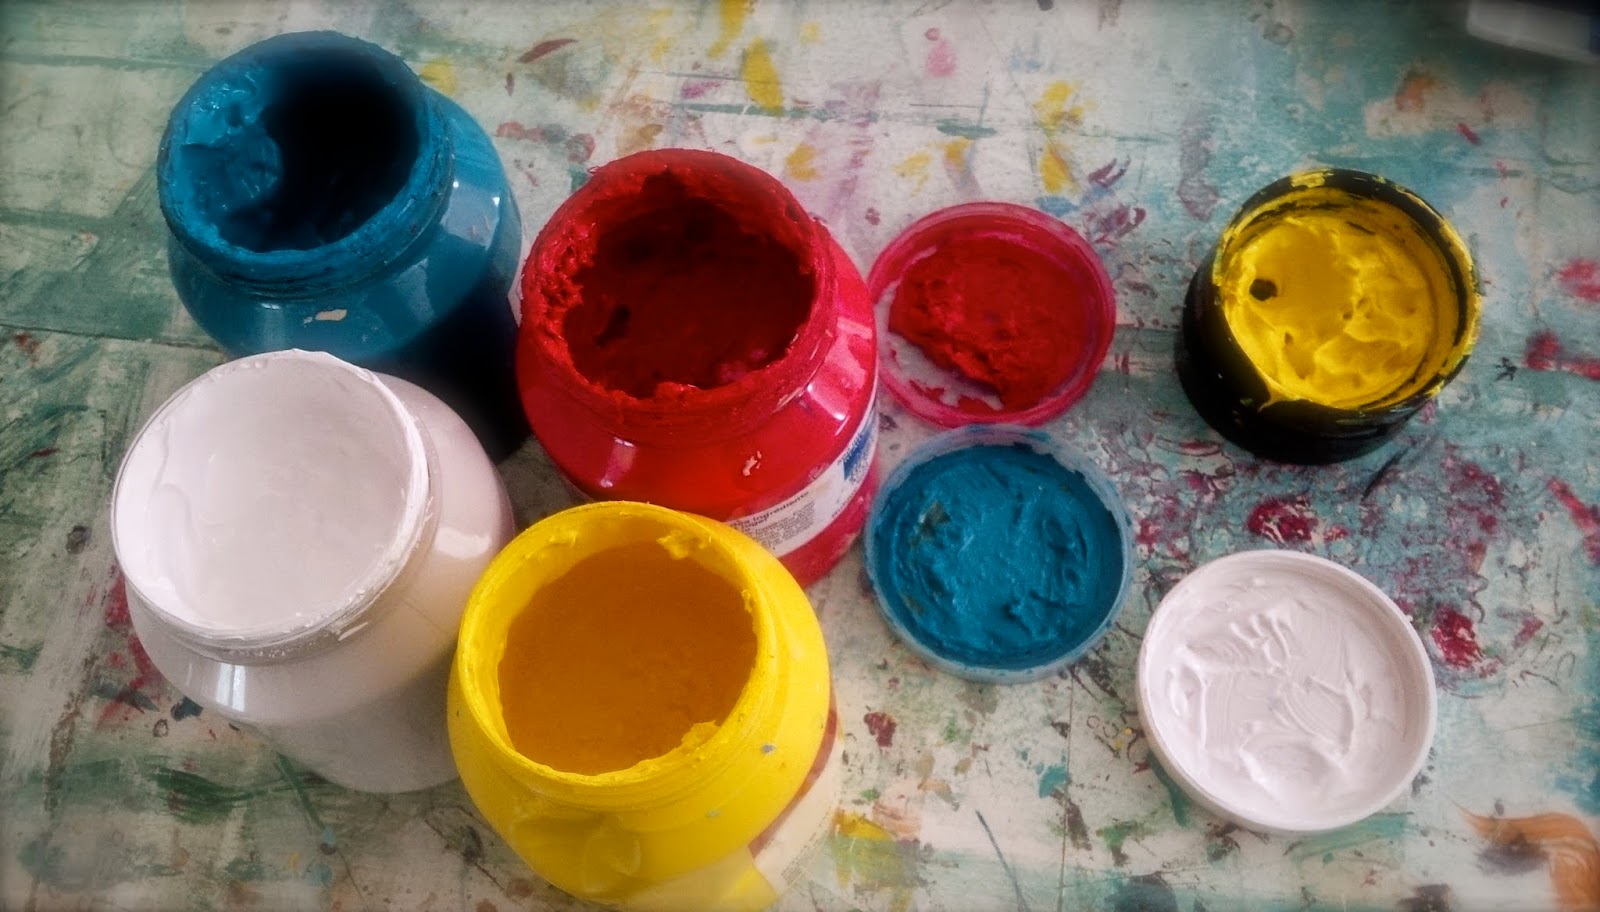
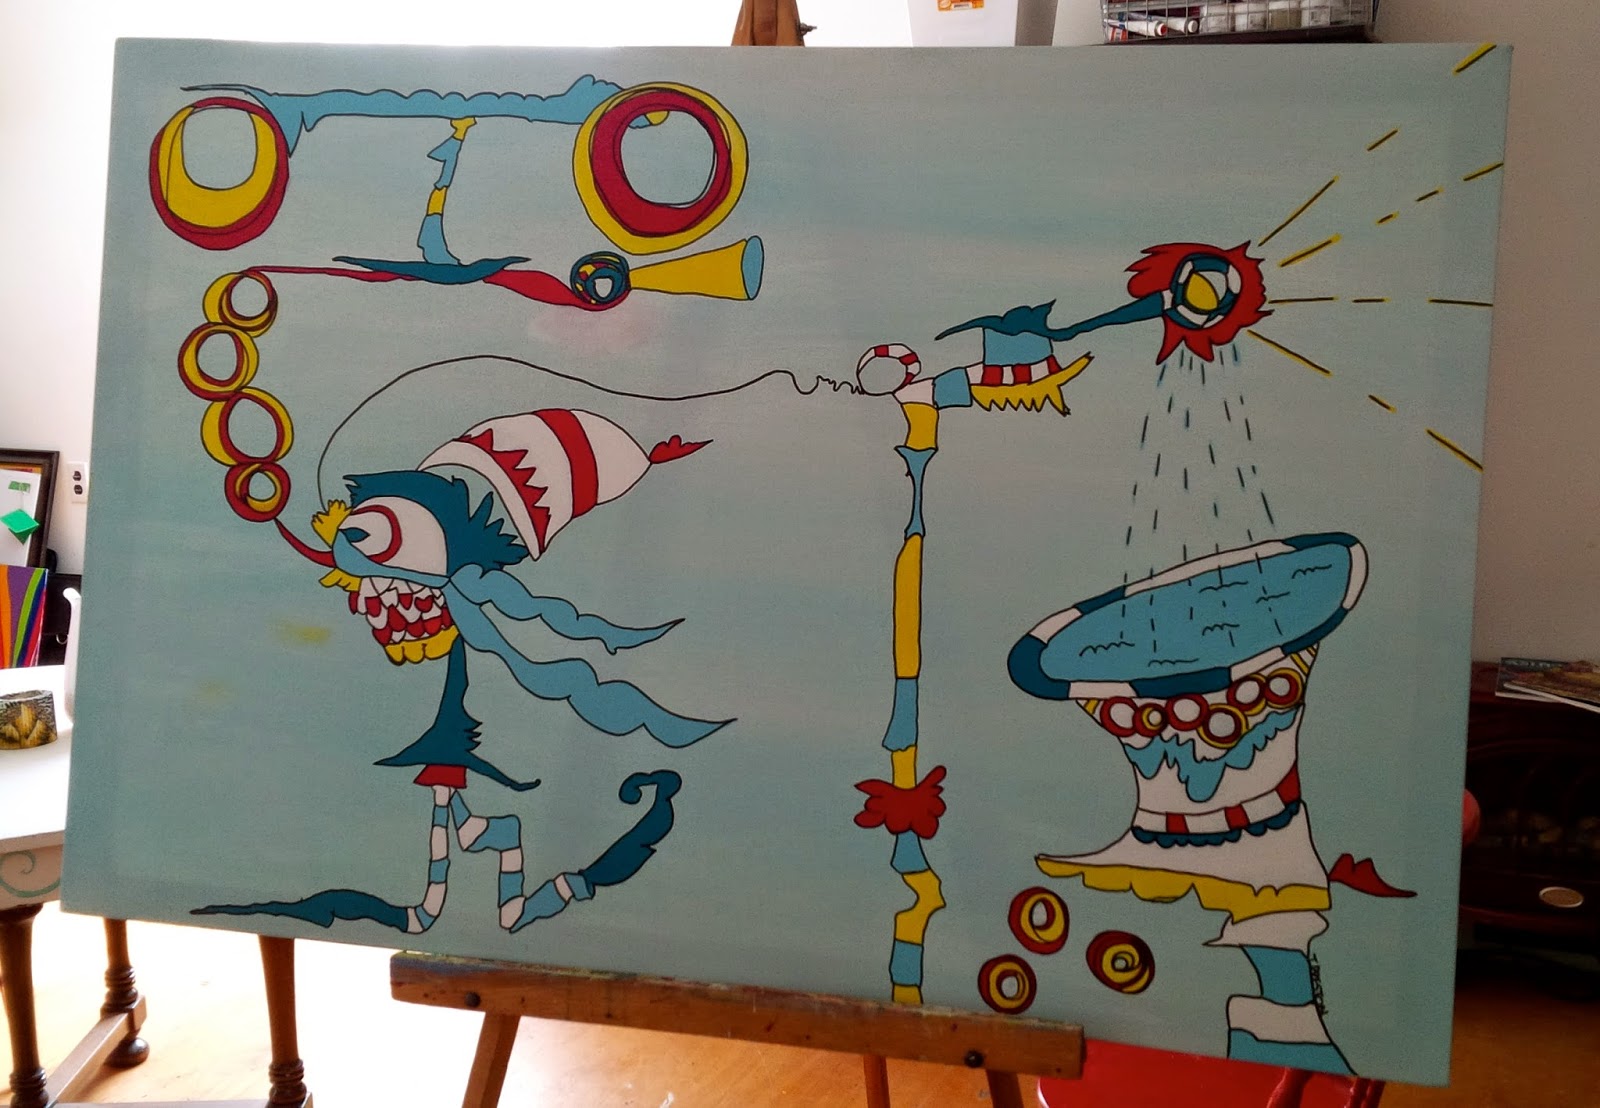
Step Five: Apply your paint. I normally block out a painting first, meaning that I do a washed out look to begin or even white. Then I begin to use more colour. Depending on how vibrant you want your colours to be you may need to do a few coats of each colour. I also really love blending. This is something you can play around with. The general rule for me is to apply the lightest colour first then blend the darker colour into it while the paint is still wet (you can also use a retarder for this).

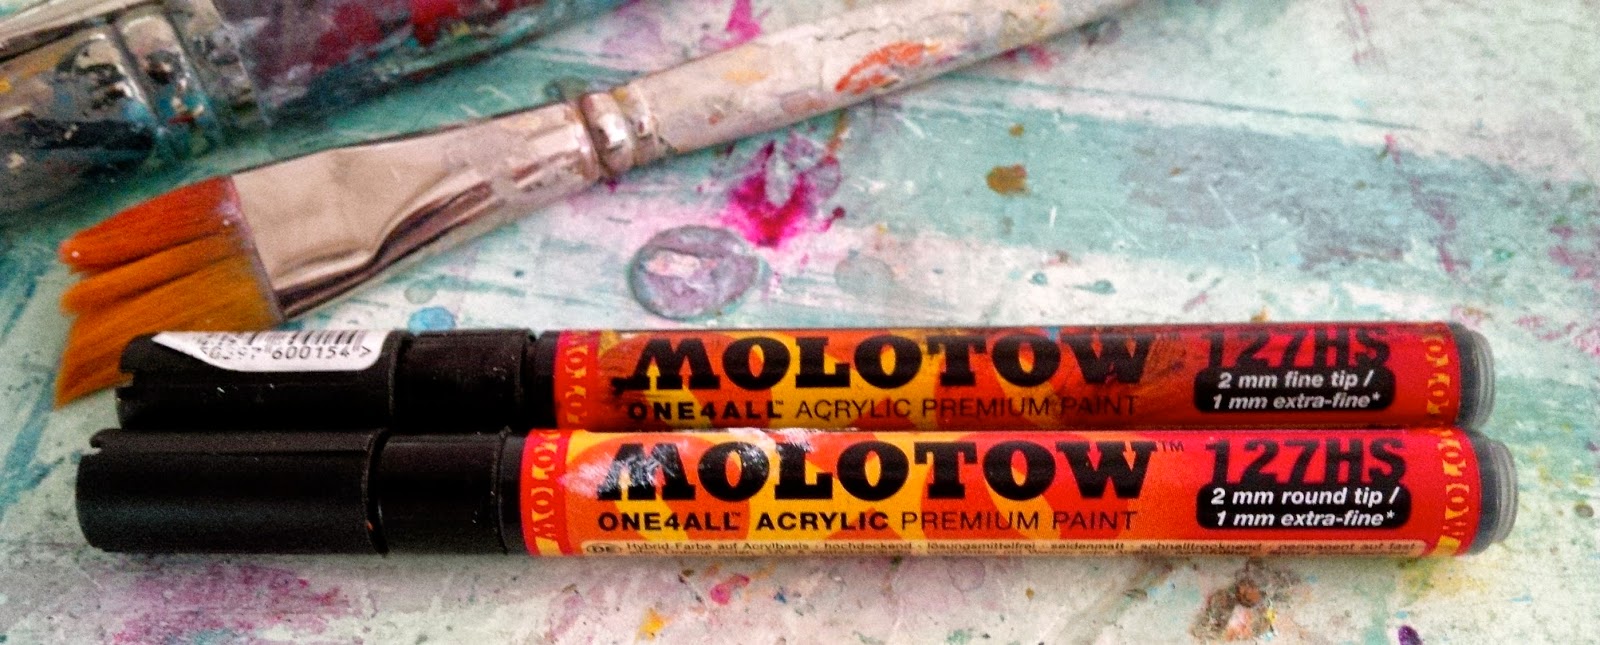
Step six: You may love the way your painting looks at this point and call it finished with your signature. However, I love to out line my doodles in black. You could spend countless hours doing this with black paint and a fine brush but I have come to love paint pens! They work awesome.
So there you have it....Your one of a kind masterpiece awaits you!!! One more essential thing: HAVE FUN!!
No comments:
Post a Comment