Showing posts with label art. Show all posts

Tuesday, April 7, 2015

Easy To Use Resources For Creative Young Minds: A Sneak Peek Into Our New Curriculums.


At last Steve and I have created some art and music books for you parents to use and learn at your own home!  We often have people asking us for ideas that they can use with their kids for art or music.  Finally we've got some practical ideas and guidance for you to use not only with your kids, but for you to use and learn from as well.

Introducing Art lessons for Kids, a step by step guide to teaching art lessons for your kids.  There are 8 weeks of lessons and in it you will see a diversity of art lessons, a complete list of materials, art games that kids love, and even my favourite snacks to serve.  We get our hands in all kinds of fun materials from clay to paint to learning sketching.  The kids will have opportunity to express their own creativity as well as learn skills along the way.  These are all lessons I have personally done with kids and have found to be fun and helpful for teaching children.

Steve has been teaching children and adults guitar lessons for years.  A few years ago he wrote Guitar Made Easy,  a teaching book to assist his guitar students in learning the basics of technique, chords, theory, and a number of other topics.   He's used this very method successfully with all his beginner students over the years.  At last he is making it available to purchase.  Even if you have never played guitar, this is a step by step guide that is easy for the beginner to learn with.  With his colourful pictures you will be able understand his explanations with ease.
Check out the photos below for a sneak peek into our new books.  They are selling for $20 each and you can purchase them on our website.

Happy Creating!!

Trish


Monday, March 2, 2015

Inspiring You And Your Kids Through the Creative Power of the Sketchbook!


I love to take time each day to draw in my sketchbook.  Except my sketches are more like whimsical doodles.  I have found that taking 15 minutes a day to doodle has really changed my creativity and helped me come into my own style.  So I wanted to pass this simple exercise onto my kids since they already love to draw.   With the numerous papers of their drawings all over the house,  I had to do something to keep track of them all.   A sketchbook seemed like a logical idea since it keeps all of their wonderful creations in one place.  So recently we purchased bound sketchbooks for the kids and I am encouraging them to use their new books.  


How do you inspire sketches/doodles for you and your kids to add to your sketchbooks?  Here are a few thoughts.

1.  Doodle:  I normally doodle without any kind of expectation of what to draw.  I just make lines and shapes and don't really pay much attention to what I am drawing, I just see what comes out on the page.   I love this because it has taken all the pressure off to try to draw something really great.  When I'm finished I'm often amazed to see what I find in my doodles.  Characters with little stories to tell, and sometimes even reflections of what I currently am going through.  Somedays I add colour with watercolours or markers and it brings even more imagination out!   I find that for kids, when you ask them to doodle they will often begin to draw pictures.  So to get them out of this mode I take them through something called taking your pen for a workout.  I explain that your pen is going to workout today and sometimes it is walking, running, jumping, twirling and so on.  They love it and begin to naturally doodle.  We then fill the lines with colours.  It's important when doing doodling that you don't erase your lines.  Just go with what you draw and don't worry about making any mistakes.  I love to doodle in black tip markers.


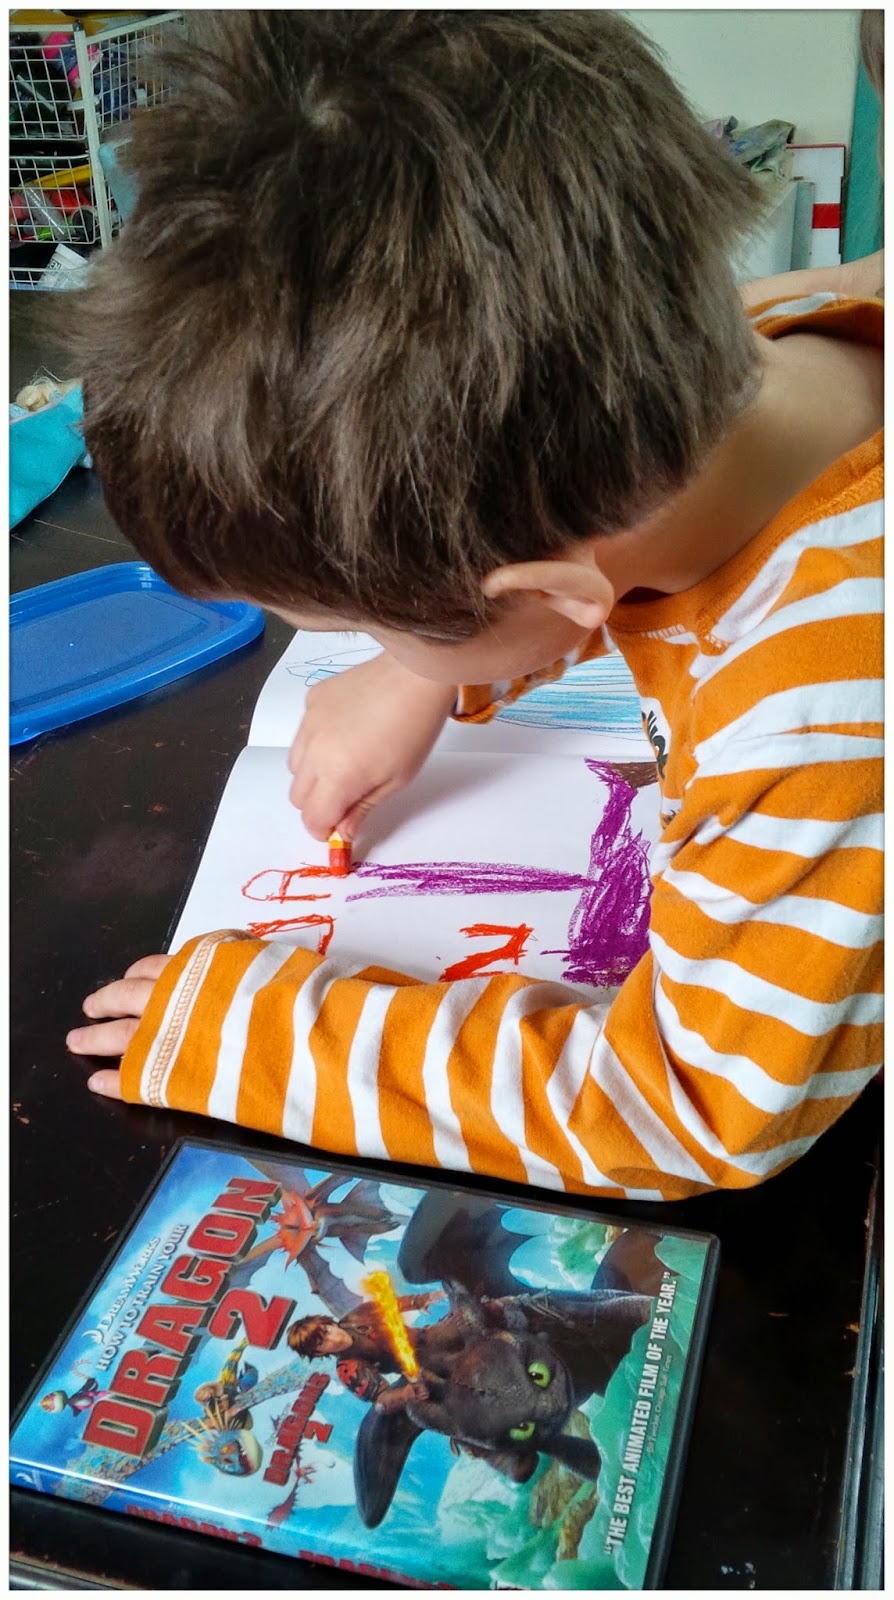
2. Sketch from your imagination:  I find this is the most common one my kids do.  At ages 2,4 and 6 they haven't had any formal art lessons on how to draw.   I just let them create and draw what comes to mind.   I will often find my son drawing images from his favourite movie.   My six year old draws lots of pictures of her family.   My two year old loves to draw with tons of colour.   They will naturally have things in their heads that they like to draw.   At this age, I don't worry about trying to correct them or train them on how to draw, but rather let them have fun!   As for me, I too love to draw from my imagination and have found that it is a skill I have had to develop over time.


3.  Sketch an object:  Again, with having young kids I don't tell them that we are going to draw this object on the table but rather I set up clues of things for them to draw.   I may place a toy or a flower on the table and begin to sketch it myself.  Usually if my six year old sees this, she too begins to do the same.   My four year old may do this too if it is something that peeked his interest such as Toothless from the movie How To Train Your Dragon.

There are some simple things to do when opening your sketchbook!   I want to leave you with a challenge this week!  The family sketchbook challenge.  I recommend that each member of your family that is participating whether one or 5 purchases a brand new sketch book and takes about 15 minutes a day to sketch or doodle.   Let me know how it goes and I would love to take a peek at what comes out in your sketchbooks if you want to post pics! 


One last thing,  I would recommend a sketch book with a coil ring for yourself, and a bound sketchbook for younger kids if you want to keep all their art in one place.  If you are going to use markers or watercolours,  I really love mixed media sketch books since you can use all kinds of media on it.   For my kids, I just got simple hardcover sketchbooks that they couldn't easily rip the pages out of!  
Happy sketching!

Trish


Wednesday, February 18, 2015

10 Inspiring Ways To Get Creativity Flowing In Your Kids

Sometimes you need a little inspiration and help in order to get your kids to create something new.  So today I am talking about finding creative props that can help get the creative juices flowing.  I know that many times if I just hand my children a piece of paper and a box of crayons they will usually start colouring something.  But sometimes I like to stretch them a bit in their creativity, yet still have them create that they really like.  So here are a few ideas to help create new projects.

1. Googly eyes:  Paste googly eyes on a surface of some sort.  It can just be a blank piece of paper, a wood board, or even a canvas.  Tell them then to create a face or a fun creature or animal around the goggly eyes.  My kids loved this and some really cool art was created as well!  We even gave their goggly eyed creatures names, which then turned into a time of story telling because a picture tells a story and they just created characters for a story.  If you do this with a group of kids, they can collaborate and make a story together using all of their characters as a part of the story.


2. Team work:  I begin with some designs or doodles on a canvas and then get my kids to add to it. I allow them to have the freedom to add what they want and use their own unique style.  It's awesome to see different styles coming together.


3. Pictures from a magazine:  Paste pieces of pictures from a magazine onto a blank paper and then have them finish the picture.  This was a fun one for the kids to do and they came up with some great ideas!


4. Finger print doodles:  Make finger prints on paper by pressing their thumbs on a stamp pad and transferring them to your paper.  Doodle around the finger prints turning them into doodle pictures.  This was so much fun and we made all kinds of little doodle creatures!


5. Funky object:  Have them find an object in the room and draw it.  Then have them create a funky creature from it.  I got this idea from a really cool book called The Ice Cream Coot And Other Rare Birds by Arnold Label.


6. Play dough and toys: When all else fails, bring out the play dough!  My son loves using it while playing with his trains, and makes his own tracks for them.


7. What's in the house?:  Using a cardboard box, get the kids to paint and make a house (adding doors and windows) and then have them create objects to go in their house.


8. My colourful pallet:  Hand them a canvas of white paper that has random shapes of watercolour pencil drawn on it.  Have them add water to the shapes with a brush and create a picture incorporating all the paint shapes.


9.  Drawing pictures from Numbers:  This is fun to do.  Start by drawing out a number and then see if you can create it into a picture of something.


10.  Fill in the Frame:  Draw a picture of different frames and then have your children fill in the frame.  We have chalkboard walls in our home, so we use those.  However if you don't have this available to you, you can do it on any large piece of paper as well.


So there you have it.  10 great ideas to help you get the creative juices flowing in your kids!  Hope you are feeling inspired, and have fun creating!

Trish

Tuesday, February 10, 2015

More Mixed Media!

Lately I have been on a mixed media frenzy!  I really love it!  I think it's because I feel so much freedom in it.  There isn't that worry of messing things up because I just keep layering over until I get the look I like!  It's fun and to me it's a great way to play and experiment with other mediums that I haven't tried before.  So this week I have taken an old piece of wood that used to be on our old woodshed.  I primed it with primer, began painting, and here's what I got!


I took an old board from our former woodshed, primed it, and then painted it with a yellow undertone.


I then added some decorative tissue paper from the Tim Holtz collection.  I love this stuff.


I added lots of Mod Podge to it, beneath and on top of the tissue paper.  I also highlighted it with some blue acrylic paint.


Probably one of the most challenging parts of mixed media is if you are wanting to put lettering on your piece.  There are a few options to do this without making it really difficult.  You can free hand and write your message, but I personally find that hard to do.  I don't have a problem with writing or the lettering but rather the spacing.  It can look very unprofessional if your spacing isn't consistent. This includes height and width of each letter.  You can use stamps as they work great, but you may not have them available or have the right size of stamps.  So another option is finding a font that you like on the computer. There are also websites available for this.  My personal favourite is www.dafont.com.  I  types out the message and the size of lettering I wanted.  After I have printed it, I now had to transfer it onto my artwork.  What I found works really well is taking a charcoal pencil and tracing over the lettering on one side.  I then pressed it down onto the canvas or board and this left a print of the lettering on the canvas that I could then paint over with a fine brush.


I then added some extra little things to bring the piece together, like some old buttons.


I also added some burlap and tags with some whimsical houses that I sketched out.

So there it is.  Have fun creating this week and don't be afraid to experiment.  You may just find your niche! Happy creating.

Trish

Thursday, February 5, 2015

Print Making With Kids

My daughter loves to make cards!  She loves collecting used envelopes to re-use and then add them to her collection of cards.  So for something different I thought I would do some printmaking with the kids for a different way of making cards.  This is a fun activity that is easy for kids too, and they can repeat it over and over.  We created our own template but there are also many other things you can use to print make.  Potatoes and apples work well, or anything with a cool pattern.  I also like to encourage kids to come up with their own pattern and designs.  It gives them some freedom as well as allows them to create out of the uniqueness inside of them.


Some things you will need are foam, a pen, a brier, a plastic plate, paper or card stock, and paint.


You can use paint, however I really like to use block printing ink.  It is much thicker and applies really nice with the brier. 


I use pieces of foam with a ballpoint pen.  I press fairly hard so that what I am drawing leaves an imprint on the foam.


Why not make a doodle print. The nice thing about making a print is you can use  the template over and over trying different colours.


I like to mix more then one colour when I do a print. Here I have chosen two colours that I know will blend together nicely. I press fairly firm with my brier and cover the entire foam surface.


I then place it face down on my card stock.  Anna is helping by applying pressure on the other side.


I generally find the second print is better. The first one usually has a little too much paint on it. This is my doodle print.


Anna's requested print...Strawberry Shortcake.  We mixed yellow and pink together.


Nathan's print of Toothless from How to Train a Dragon.


Typically I like to eat these and not paint them, but I had few extra's kicking around and thought they would make some interesting prints if painted.  I used acrylic paint with a brush to make these stamps.

The grapefruit!


The apple.

The pepper!
Happy Creating! 

Trish